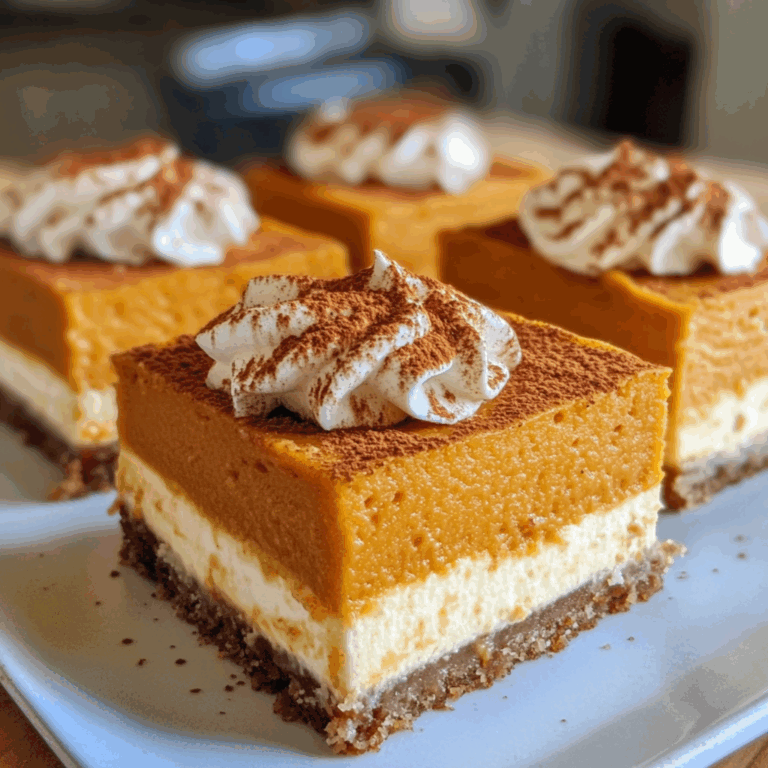
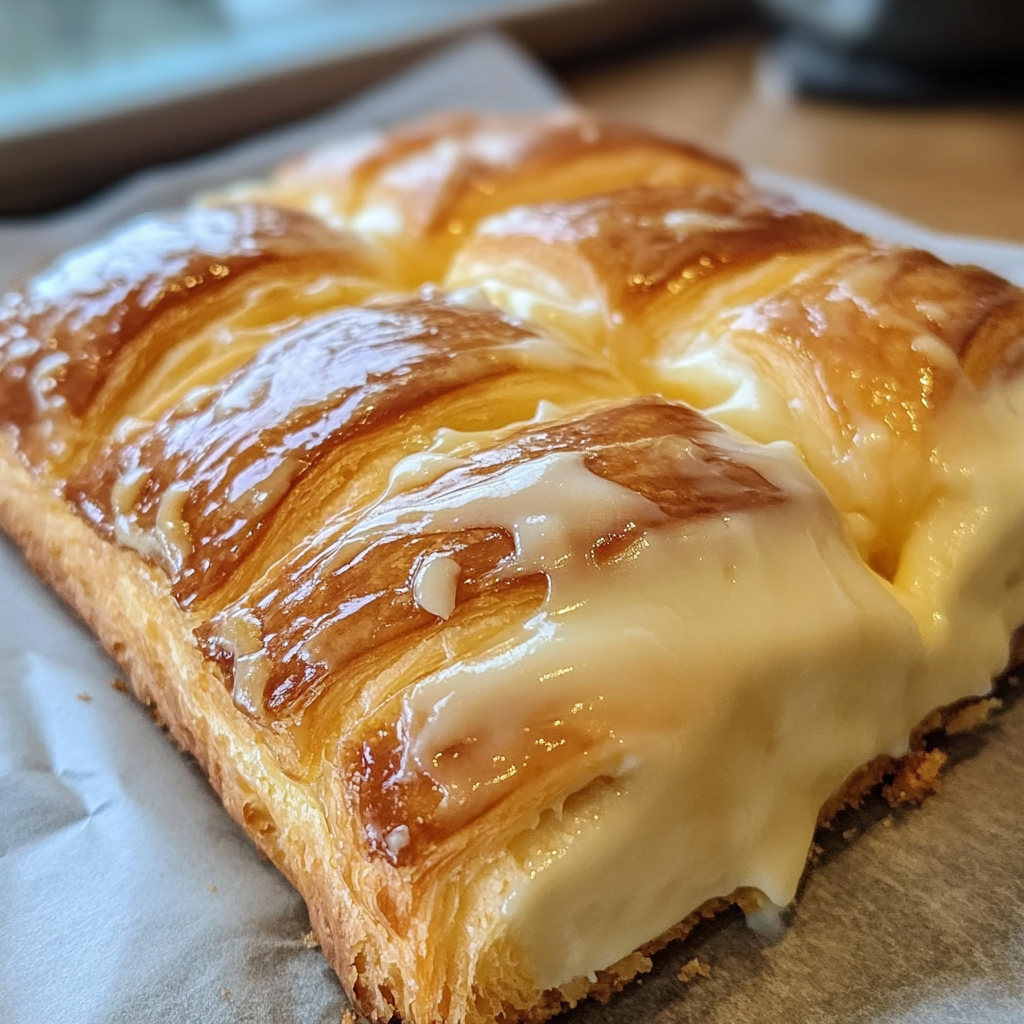
King’s Hawaiian Cheesecake Danish
Prepare to embark on a flavor journey that will transport your taste buds to a Hawaiian paradise. The King’s Hawaiian Cheesecake Danish is a culinary masterpiece that blends the soft, pillowy texture of Hawaiian rolls with the decadence of a creamy cheesecake filling. This recipe is a delightful fusion of two beloved desserts, creating a treat that is sure to captivate your senses and leave you craving for more.
❤️ Why You’ll Love This Recipe ❓
The King’s Hawaiian Cheesecake Danish is a true showstopper that combines the comforting familiarity of Hawaiian rolls with the luxurious indulgence of a creamy cheesecake. The contrast between the fluffy, golden-brown exterior and the rich, velvety filling creates a sensational flavor and texture profile that will leave you marveling at the sheer genius of this recipe. With its irresistible aroma and visually stunning presentation, this dish is sure to be the centerpiece of any gathering, whether it’s a holiday celebration, a family brunch, or a casual dessert night.
Ingredients
- 1 package (12 count) King’s Hawaiian Original Hawaiian Sweet Rolls
- 8 oz. cream cheese, softened
- 1/2 cup granulated sugar
- 1 egg
- 1 tsp. vanilla extract
- 1/4 cup all-purpose flour
- 1/4 cup unsalted butter, melted
- 1 tbsp. powdered sugar (for dusting)
The beauty of this King’s Hawaiian Cheesecake Danish is that most ingredients are pantry or freezer staples. The combination of buttery Hawaiian rolls and a rich, creamy cheesecake filling creates the irresistible flavor profile that has made these recipes perennially popular.
Instructions
- Step 1: Preheat your oven to 350°F (175°C). Grease a 9×13-inch baking dish with non-stick cooking spray.
- Step 2: In a medium bowl, beat the cream cheese with a hand mixer until light and fluffy. Add the granulated sugar and continue mixing until well combined. Then, beat in the egg and vanilla extract until smooth.
- Step 3: Carefully slice each Hawaiian roll in half horizontally, keeping the rolls intact. Arrange the bottom halves of the rolls in the prepared baking dish.
- Step 4: Spoon the cheesecake filling evenly over the bottom halves of the rolls, ensuring to cover the entire surface.
- Step 5: Place the top halves of the rolls back on top of the cheesecake filling, pressing down gently to secure them in place.
- Step 6: In a small bowl, combine the melted butter and all-purpose flour, mixing until a smooth paste forms. Spread this mixture evenly over the top of the assembled rolls.
- Step 7: Bake the King’s Hawaiian Cheesecake Danish in the preheated oven for 25-30 minutes, or until the top is golden brown and the filling is set.
- Step 8: Remove the baked Danish from the oven and let it cool for at least 15 minutes. Dust the top with powdered sugar before serving.
Timing Overview
• Cook time: 25-30 minutes
• Total time: 40-45 minutes
Compared to traditional cheesecake, which can take up to an hour to prepare, this King’s Hawaiian Cheesecake Danish saves you 20-25% of your cooking time while delivering similar flavors.
Nutritional Information
Per serving (based on 12 servings):
• Protein: 4g
• Carbohydrates: 37g
• Fat: 14g
• Fiber: 1g
• Sodium: 292mg
These King’s Hawaiian Cheesecake Danish provide approximately 10% of your daily calcium requirements and 14% of your daily carbohydrate needs, making them not just delicious but nutritionally valuable as well.
💚 Make It Even Healthier
• Lower-carb version: Substitute the Hawaiian rolls with low-carb or keto-friendly bread or buns, and use a sugar substitute in the cheesecake filling.
• Dairy-free adaptation: Replace the cream cheese with a dairy-free cream cheese alternative, and use a plant-based milk or milk substitute in the filling.
These modifications can reduce calories by up to 20% or adapt the recipe for specific dietary needs without compromising the fundamental flavor profile of the King’s Hawaiian Cheesecake Danish.
🎥 Serving Suggestions
• Pair the Danish with a cup of hot coffee or tea for a classic brunch or dessert combination.
• Complement the Danish with a fresh fruit salad or a light, refreshing side salad for a balanced and satisfying meal.
These King’s Hawaiian Cheesecake Danish can be the centerpiece of a special occasion spread, or enjoyed as a comforting and indulgent treat any day of the week.
❌ Common Mistakes to Avoid
• Overbaking: Keep a close eye on the Danish during the baking process to prevent the tops from becoming too dark or the filling from drying out.
• Skipping the butter-flour mixture: This critical step helps create a delicious, crispy topping that complements the soft, fluffy rolls and creamy filling.
By avoiding these common pitfalls, you’ll ensure your King’s Hawaiian Cheesecake Danish turns out perfectly every time.
🧊 Storing Tips for the Recipe
These King’s Hawaiian Cheesecake Danish retain their quality remarkably well:
• Freezing unbaked: Prepare the Danish up to the point of baking, then wrap tightly in plastic wrap and freeze for up to 2 months. Thaw in the refrigerator overnight before baking as directed.
• Freezing baked: Allow the baked Danish to cool completely, then wrap tightly in plastic wrap and freeze for up to 2 months. Thaw in the refrigerator overnight and reheat in a 350°F (175°C) oven for 10-15 minutes, or until heated through.
❓ FAQs
Can I make the King’s Hawaiian Cheesecake Danish ahead of time?
Yes, you can! The unbaked Danish can be prepared up to the point of baking, wrapped tightly, and frozen for up to 2 months. When ready to serve, thaw the Danish in the refrigerator overnight and then bake as directed.
Can I substitute the cream cheese in the filling?
Absolutely! You can experiment with different types of cheese, such as ricotta, mascarpone, or even a blend of cream cheese and cottage cheese, to create your desired flavor profile. Just be sure to adjust the sweetener accordingly.
Are there any dairy-free options for this recipe?
Yes, there are a few dairy-free alternatives you can use. Replace the cream cheese with a dairy-free cream cheese alternative, and use a plant-based milk or milk substitute in the filling. You can also find dairy-free versions of the Hawaiian rolls at many grocery stores.
What if the cheesecake filling doesn’t set properly?
If the cheesecake filling appears to be too soft or runny, try increasing the baking time by 5-10 minutes. Make sure to keep a close eye on the Danish to prevent overbaking. You can also try adding an extra tablespoon or two of all-purpose flour to the filling to help it set more firmly.
Can I add any additional toppings or fillings to the Danish?
Absolutely! The beauty of this recipe is its versatility. You can experiment with different toppings, such as a streusel topping, chopped nuts, or a drizzle of caramel or chocolate sauce. You can also try incorporating other fillings, like fresh berries or a layer of jam, to create your own unique twist on the classic King’s Hawaiian Cheesecake Danish.
🏁 Conclusion
These King’s Hawaiian Cheesecake Danish represent the perfect balance of convenience, flavor, and presentation. Whether you’re serving them as a decadent brunch offering or an indulgent dessert, they’re sure to impress with their soft, pillowy texture and rich, creamy filling. The versatility of this recipe allows for countless variations to suit your taste preferences and dietary needs.
With simple ingredients and straightforward preparation, these King’s Hawaiian Cheesecake Danish demonstrate that sophisticated flavors don’t require complicated techniques – just quality ingredients and a little bit of care in the baking process. So, gather your loved ones, preheat your oven, and get ready to embark on a delightful culinary journey filled with the irresistible flavors of the King’s Hawaiian Cheesecake Danish.

King’s Hawaiian Cheesecake Danish
⏱️ Timing Overview
🥘 Ingredients
📝 Instructions
- Preheat your oven to 350°F (175°C). Grease a 9x13-inch baking dish with non-stick cooking spray.
- In a medium bowl, beat the cream cheese with a hand mixer until light and fluffy. Add the granulated sugar and continue mixing until well combined. Then, beat in the egg and vanilla extract until smooth.
- Carefully slice each Hawaiian roll in half horizontally, keeping the rolls intact. Arrange the bottom halves of the rolls in the prepared baking dish.
- Spoon the cheesecake filling evenly over the bottom halves of the rolls, ensuring to cover the entire surface.
- Place the top halves of the rolls back on top of the cheesecake filling, pressing down gently to secure them in place.
- In a small bowl, combine the melted butter and all-purpose flour, mixing until a smooth paste forms. Spread this mixture evenly over the top of the assembled rolls.
- Bake the King's Hawaiian Cheesecake Danish in the preheated oven for 25-30 minutes, or until the top is golden brown and the filling is set.
- Remove the baked Danish from the oven and let it cool for at least 15 minutes. Dust the top with powdered sugar before serving.